
8 Landscape Photography Mistakes (& How to Fix Them)
Oct 03, 2022
8 Landscape Photography Mistakes (& How to Fix Them)
Fixing these mistakes that will save you time, money, and energy in landscape photography.
When you are a beginner in landscape photography you will make your fair share of mistakes. The key to improving your photography is to learn how to fix those mistakes and get 1% better each time you go out to take photos.
Making these 8 common beginner landscape photography mistakes is extremely frustrating. I empathize with that because I've made plenty of my own mistakes, and still do from time to time. There's nothing worse than thinking you got the photo of a lifetime only to realize later that the photo is blurry.
However, after being able to pinpoint my mistakes, I learned to fix them and get a little better each time I went into the field. Eventually, I was able to work with brands like REI and Amazon plus photo companies like Tamron and FujiFilm.
1. Lack of Stability
Stability is definitely the top mistake I've seen hundreds of photographers make while teaching them in the field. Tripods can be flimsy and even the slightest touch to a long exposure photo can create a shake that ruins a photo. High winds and unstable ground can also create slight movements that are hard to detect in the field.
These stability problems are hard to diagnose in the field, and shakes cannot be fixed in whatever editing software you use. So, how do you fix the lack of stability?
Well, you must get a sturdy tripod. You may not be getting into fast-moving water or go running into an approaching storm, but you still need a tripod that is going to keep your camera strong and still.
I recommend using this Fotopro tripod. It has never failed me and is everything I have ever wanted in a tripod. The price tag reflects that too. You can use the code JOHNSTON15 to get 15% off of that tripod though! If you are looking for a cheaper sturdy option, this 3 Legged Thing tripod will do the trick.
2. Uneven Horizon Lines
The horizon line is the point at which the land meets the sky. Getting this line uneven is detrimental to your photo because it makes the viewer feel like they are falling over. You can get away with an uneven horizon line to an extent with mountains because they are jagged and it can be hard to see it completely straight. This mistake is most apparent with lakes and oceans because those horizon lines are completely straight.
You might argue that you could just adjust the horizon with a crop tool, however, I would disagree.
Why?
You have crafted the composition perfectly. Any adjustment to the level of the photo zooms in on the composition and takes away intentional subjects you have placed in the frame.
So how do you fix it?
Use the level on the display of your camera, or use the rule of thirds display on your camera. These keep a straight line on the camera so you can use that to keep your photo level as well.

3. Only Taking Photos in Landscape View
Landscape view, or horizontal, is how we see the world. It can be easy to get trapped into only taking photos in this view.
Please know, however, that there are so many more photos to be created vertically as well. Commit to visiting a location knowing that you are not going to leave until you have created photos both in landscape (horizontal) and portrait (vertical).
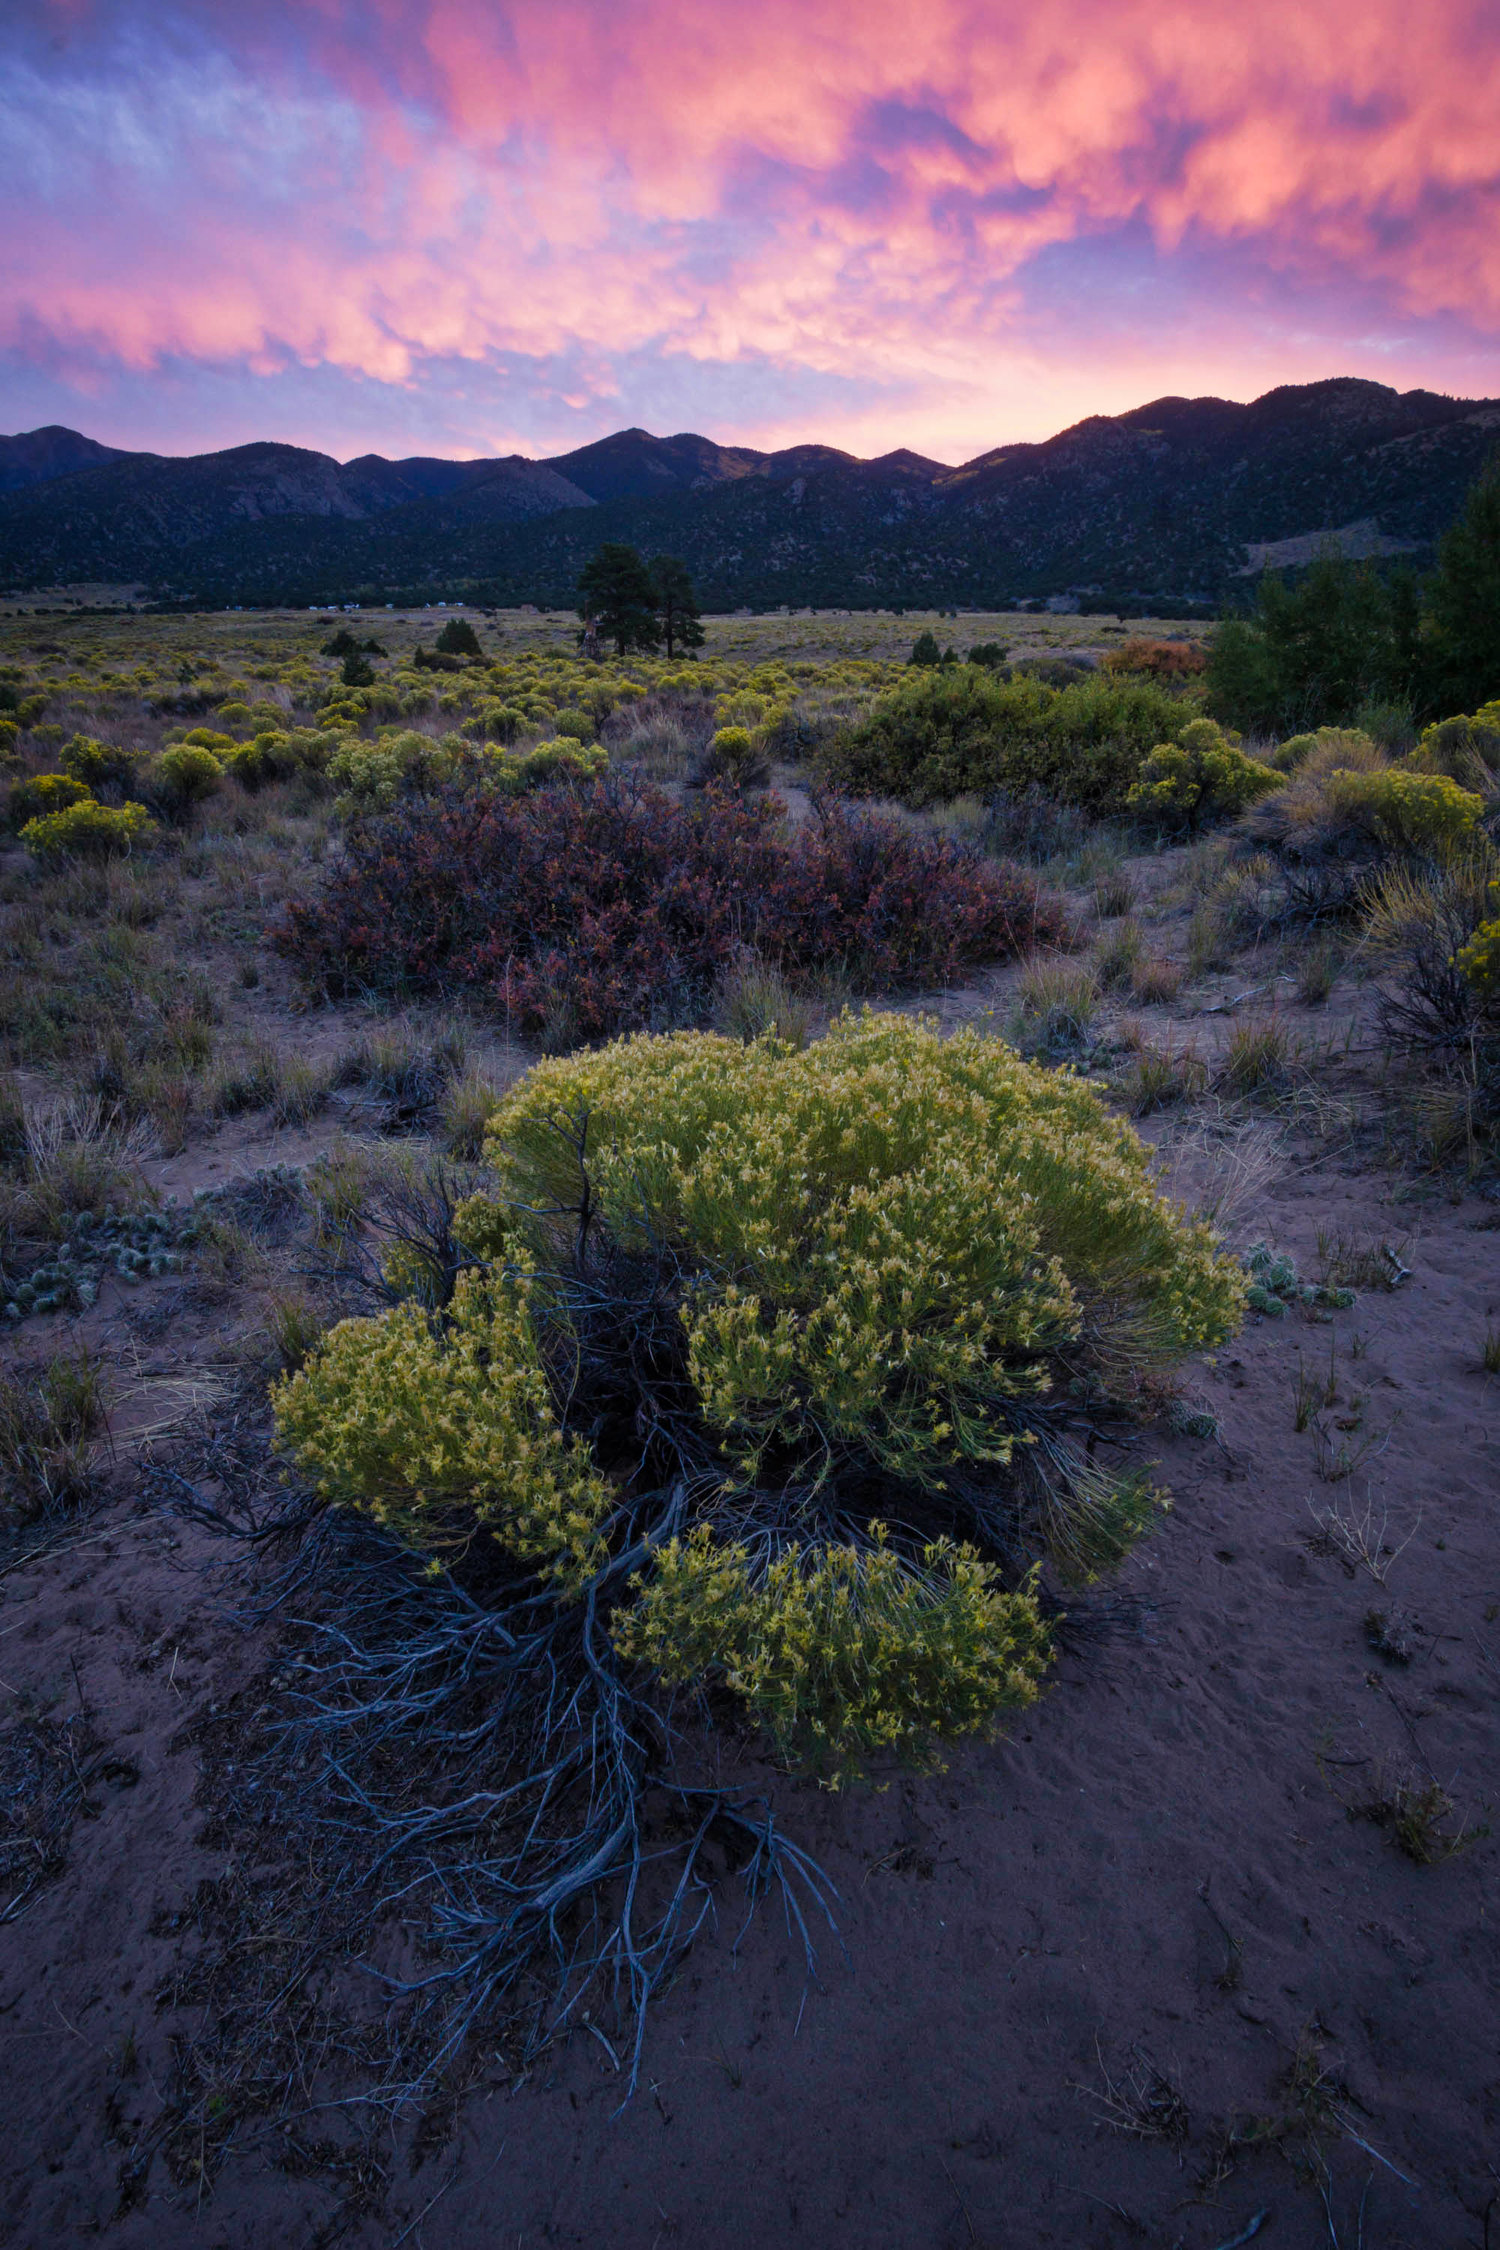
If you are new to the vertical way of seeing the world, a great technique to use is putting a wide-angle lens on your camera and using lines and large foreground subjects in your composition. This will make the lines and subjects in the bottom of your frame larger and more compelling to the composition.
4. Using the Wrong Aperture for Your Landscape Photography
The aperture is the opening in your lens that lets in a certain amount of light but also creates more or less depth in the photo. A wider aperture (f/2 to f/8) will have more blurry areas of the photo and a smaller aperture (f/11 to f/16) will have much less blur.
While blur and depth of field can be a great effect for some photos, it can ruin others.
In a classic landscape scene, I always stick to an aperture between f/11 and f/16. This ensures that the photo will be in acceptable focus throughout the entire frame.
If I'm getting artistic or taking a photo of a small subject, I'll use some depth of field with my lens, but those are pretty specific situations.
If you need help with your camera settings and want to master your camera, be sure to take the Manual Mode Challenge and learn to use your camera in manual mode in just 72 hours.
5. Not Using Manual Settings on Your Camera
Let me just start this section by reiterating that you need to be using manual mode on your camera... so here's that Manual Mode Challenge again...
Why do you need to use manual settings? You want to be able to have full control over your creative vision as a photographer. If you know what you want the photo to look like, then you need to know the settings on your camera to make that happen.
If you use automatic settings, you are giving up control and allowing your camera to make creative decisions for you. Spoiler alert: your vision and the camera's decisions won't always be on the same page. That will create ruined photos and massive frustration.
Manual mode gives you full control over the camera. If you want a specific exposure speed, you can do that. If you want a certain aperture, you can do that too.
Manual mode is the way to go. Period.
6. Standing By Other Photographers
As humans, we love to see why crowds flock to specific areas. They must know something we don't, after all. With landscape photography, those photographers are most likely in that same spot because they too saw a crowd or they looked up the most popular places to go take a photo in that location.
While I'm all for photographing iconic locations (and I've done my fair share of that too) I also believe in the process of finding your own compositions.
The most rewarding compliment on a photo of an iconic place is, "I've never seen it like that before."
So, take the iconic photo. After you get the shot, go and try to capture something completely different that you've never seen before too.
7. Adding Too Much Negative Space to Your Photos
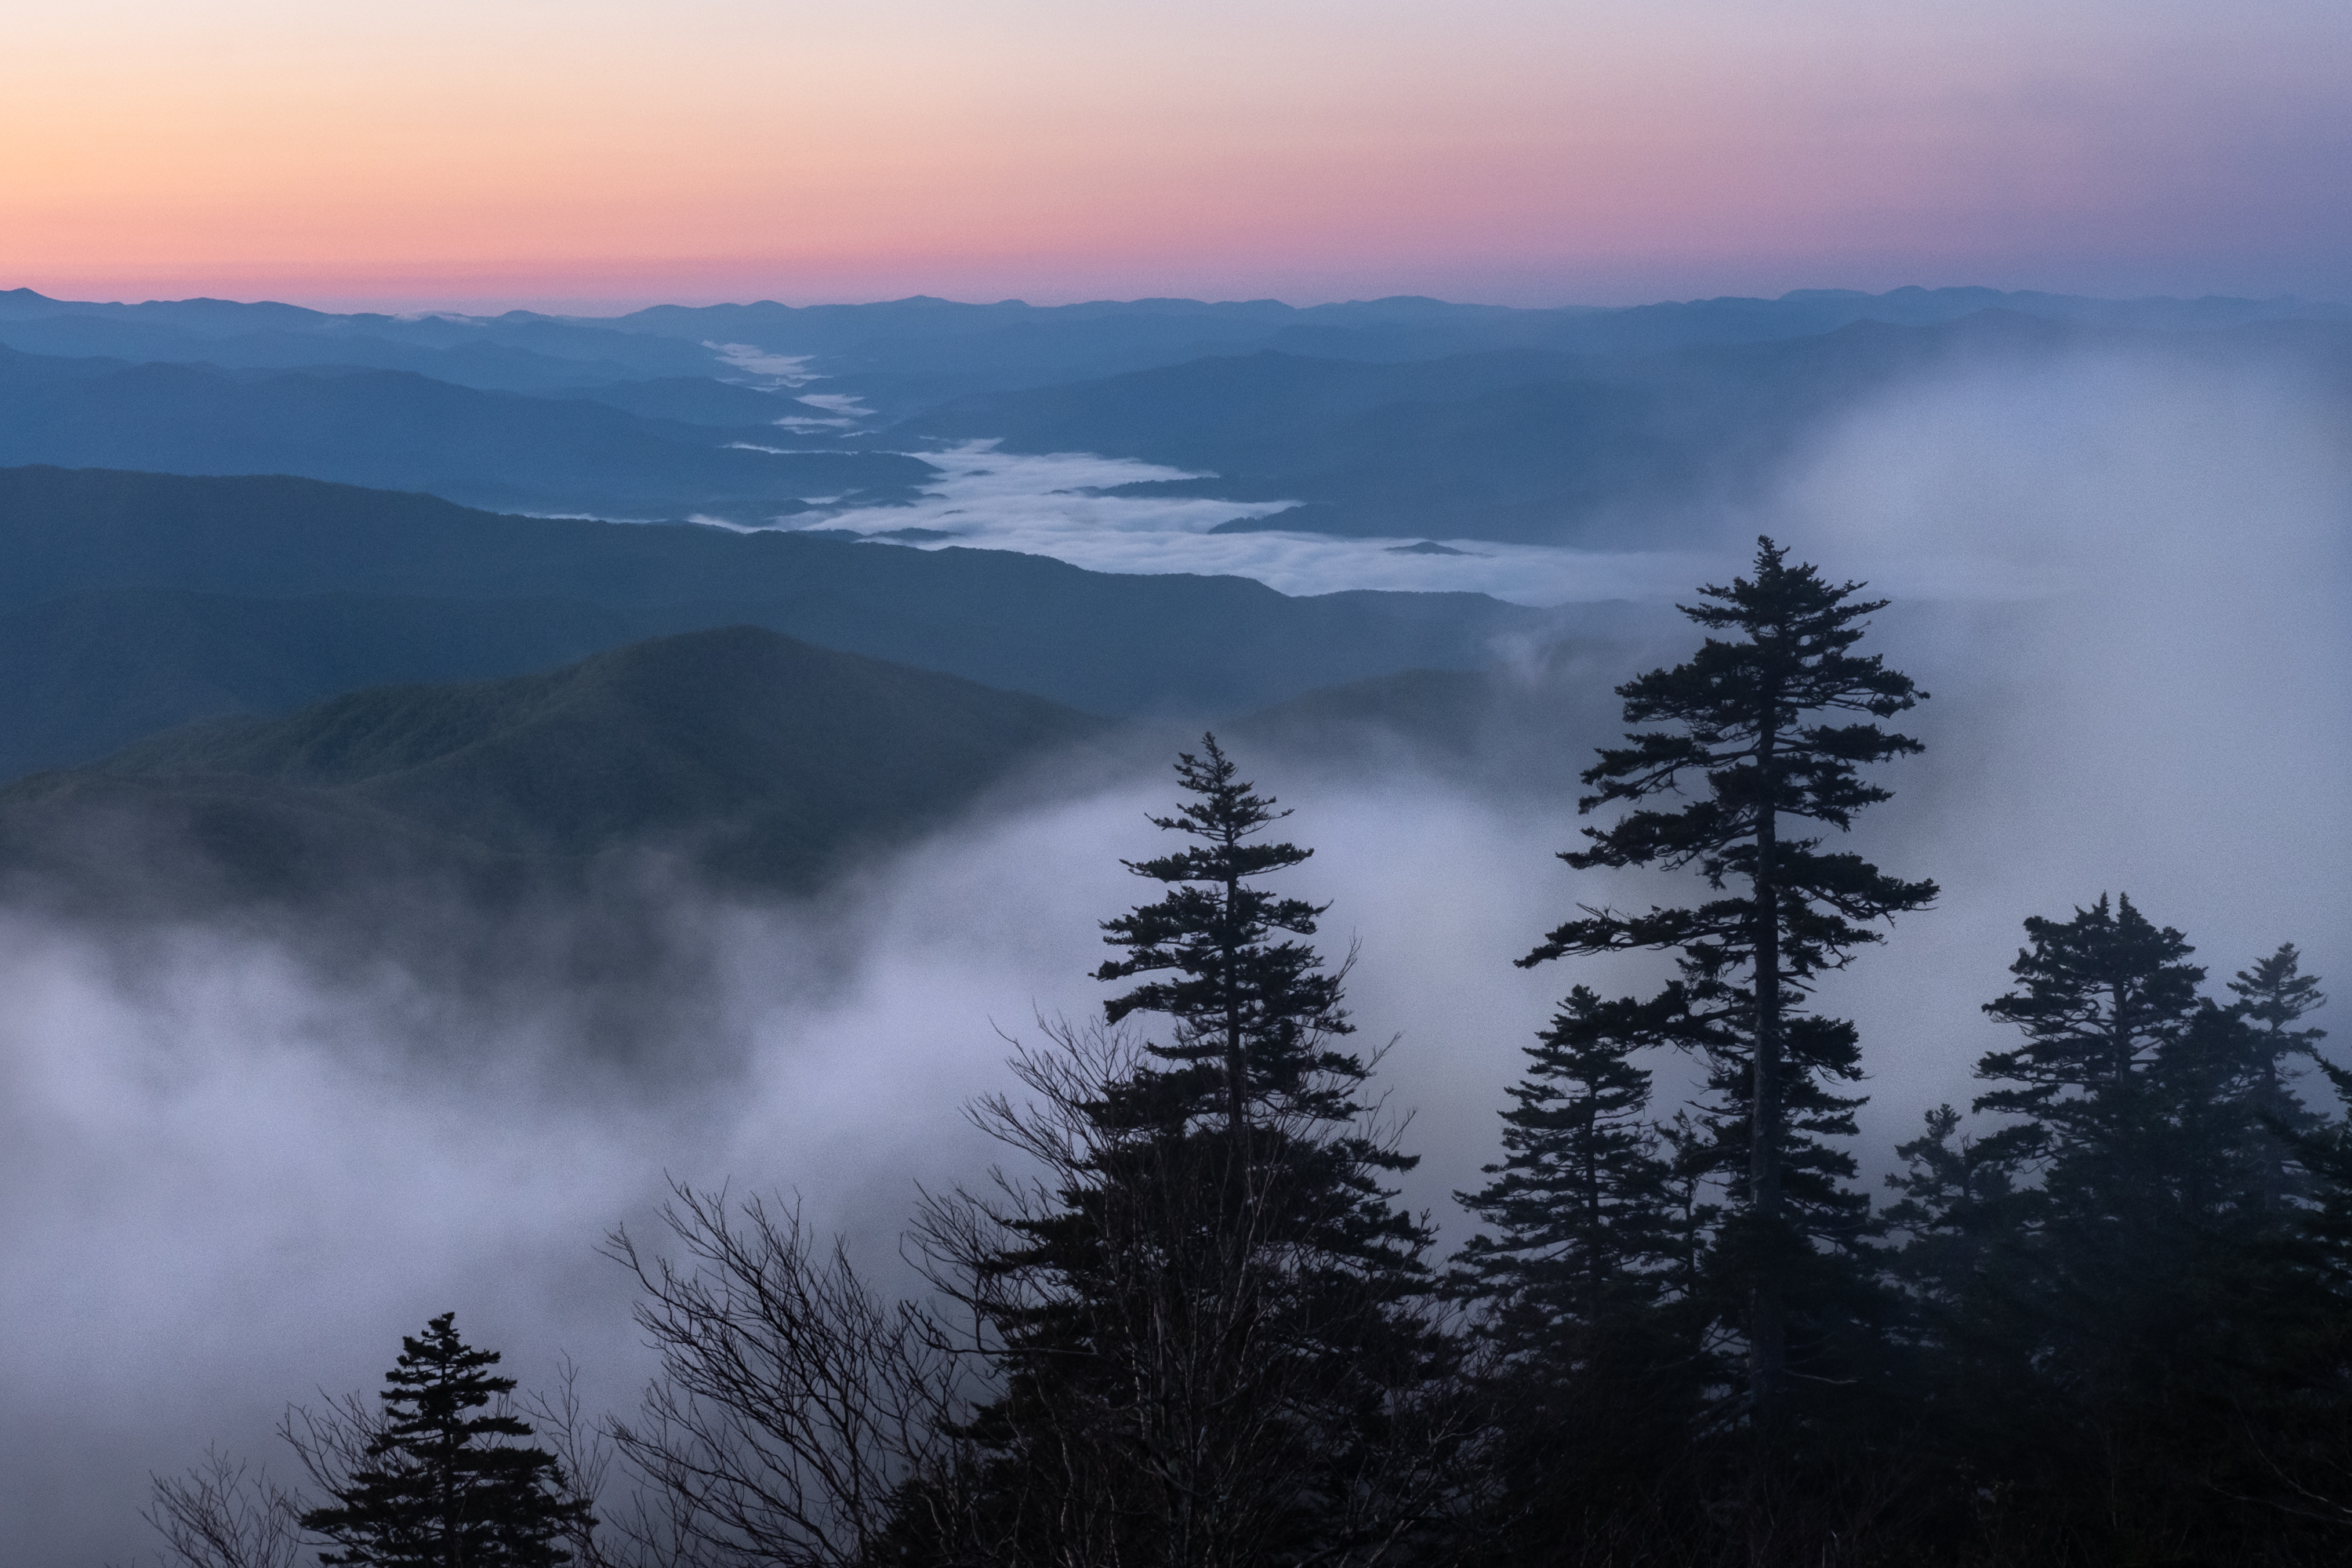
Negative space is simply the areas of solid color or shadow in your photo. I don't want you to think negative space is a bad thing. In fact, it can be used in a photo to show a specific mood or even the simplicity of a place. Adding too much of it can make your photo confusing, though.
Think of negative space as no man's land. It's fine to go into it, but you don't want to stay there too long. If you have too much negative space in your photos, your viewer will be trapped exploring the nothingness of negative space purgatory.
You want to add just enough negative space to give a break in the photo or room to breathe for your photos.
Remember, just like everything else in life, moderation with negative space should be used and celebrated.

8. Not Directing Attention to Your Main Subject
The main subject of your photo is the main attraction, so you want everything to direct the viewer's eye to that point in the photo. Whether it's a mountain, animal, or tree, the attention needs to go to the main subject.
Think of your photo as a movie. Each movie has a main role, the star. That movie also has a plot, setting, and supporting actors. However, each supporting actor, plot twist, and setting directs back to the story of that main role. Adopt that into your photography as well.
You can add leading lines to your photo, but be sure they actually lead to your main subject.
You can add other subjects to the photo, but they should never take away from the main subject.

Use these tips next time you are in the field taking photos. They helped me a ton when I was getting started in photography. I know they are going to help you improve too.

